How to Install and Replace Cam Locks on Industrial Cabinets?
Installing and replacing cam locks requires precise measurement, the right extraction tools when keys are lost, and aligning the new cylinder perfectly with the existing enclosure panel.
At ForndLock, we understand that securing industrial enclosures, server racks, and heavy-duty storage units is a critical priority for engineers and facility managers globally. As a dedicated manufacturer of premium locking mechanisms, we have seen firsthand how improper installation or the sudden loss of access credentials can halt operations and compromise sensitive equipment. The process of upgrading or swapping out these security components might seem straightforward at first glance, but it involves a deep understanding of panel thickness, cylinder dimensions, and torque specifications. When you are dealing with high-value assets on a manufacturing floor or specialized medical storage units, you cannot afford to rely on guesswork. Our engineering team has compiled this comprehensive guide to walk procurement officers and maintenance technicians through the exact protocols required to manage these hardware upgrades efficiently. By following manufacturer-approved methods, you ensure that every enclosure remains tamper-resistant and fully operational, regardless of the harsh environments they may face.
ForndLock Cam Latch Usage Guide
Why do industrial locks fail frequently?
Industrial cam locks typically fail due to high-frequency usage, exposure to corrosive environments, and improper initial installation by untrained assembly line workers.
In our extensive ForndLock laboratory endurance tests, we have analyzed thousands of malfunctioning units returned from various extreme operational environments. The data consistently shows that physical wear and tear on the internal brass wafers accounts for a significant portion of mechanical failures. When an enclosure is accessed dozens of times a day in a dusty or high-humidity environment, particulate matter accumulates inside the keyway. This debris mixes with improper liquid lubricants to form a grinding paste that slowly destroys the shear line tolerances. Furthermore, we frequently observe issues related to excessive torque applied during the initial factory mounting process. If an assembly technician uses an unregulated pneumatic tool to tighten the retaining nut, the threads on the zinc alloy cylinder can stretch or strip entirely. This compromises the structural integrity of the entire mechanism, allowing the housing to spin freely within the sheet metal cutout when a key is turned. Dr. Aris Thorne, our Lead Security Metallurgist, notes that substituting standard materials with hardened stainless steel components can mitigate these failures, but proper installation technique remains the ultimate determining factor in hardware longevity.
How to remove locks without keys?
To understand how to replace a cam lock on a filing cabinet without a key, you must use a specialized drill bit to destroy the pin tumblers without damaging the surrounding metal door.
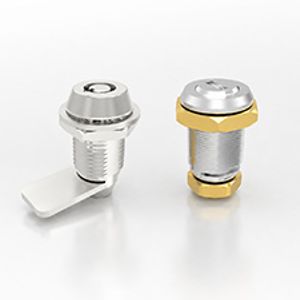
Facility managers frequently encounter situations where an employee leaves the company and inadvertently takes the only set of keys to a critical storage unit. When exploring how to replace a cam lock on a filing cabinet without a key, destructive entry is often the most time-efficient and cost-effective method for industrial maintenance teams. You will need a variable speed power drill equipped with a sharp cobalt or titanium-coated drill bit, ideally sized at one-quarter inch. Begin by placing the tip of the drill bit directly into the center of the keyway. Apply firm, steady pressure while running the drill at a medium speed, ensuring you do not overheat the metal. As the bit bites into the cylinder, you will feel it punch through the individual brass wafers or pins. Once you have drilled past the shear line, which is usually about three-quarters of an inch deep depending on the specific model, the internal locking mechanism will collapse. At this point, you can insert a flathead screwdriver into the ruined keyway and turn it to rotate the cam arm into the unlocked position. Open the door, use a wrench to loosen the rear retaining nut, and slide the destroyed cylinder out of the panel. This method ensures the expensive enclosure itself remains completely unharmed and ready for a ForndLock replacement.
What tools are required for installation?
Engineers need a high-speed drill, a step bit, locking pliers, and an accurate digital caliper to successfully prepare the panel and mount the replacement hardware.
Equipping your maintenance team with the correct instruments is the first step toward a seamless hardware upgrade. If you are retrofitting an enclosure that does not already have a designated cutout, a step drill bit is absolutely essential. Unlike standard twist bits that can warp or tear thin sheet metal, a step bit creates a perfectly round, burr-free opening. You will also need a metal file or a specialized deburring tool to smooth the edges of the newly cut hole, ensuring the rubber O-ring or weather gasket sits flush against the surface for optimal ingress protection. A digital caliper is non-negotiable for measuring the exact thickness of your mounting panel; relying on a standard tape measure often leads to purchasing a cylinder that is either too short to reach the strike plate or too long, resulting in a loose, rattling fit. Finally, a standard adjustable wrench or a perfectly sized deep socket is required to tighten the retaining nut to the manufacturer's specified torque rating. Using locking pliers directly on the threaded barrel is highly discouraged, as the aggressive teeth will permanently damage the threads and make future adjustments impossible.
Quarter Turn Cam Lock with Key
How to determine correct lock dimensions?
You must measure the material thickness and reference a standard cam lock size chart and hole diameter guide for cabinets to ensure the threaded barrel fits snugly.
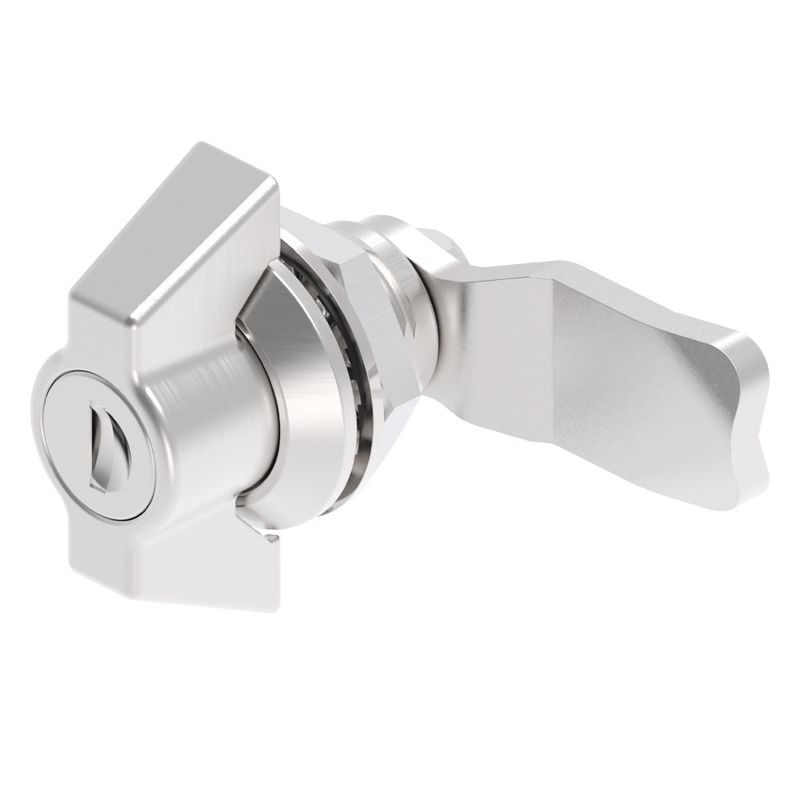
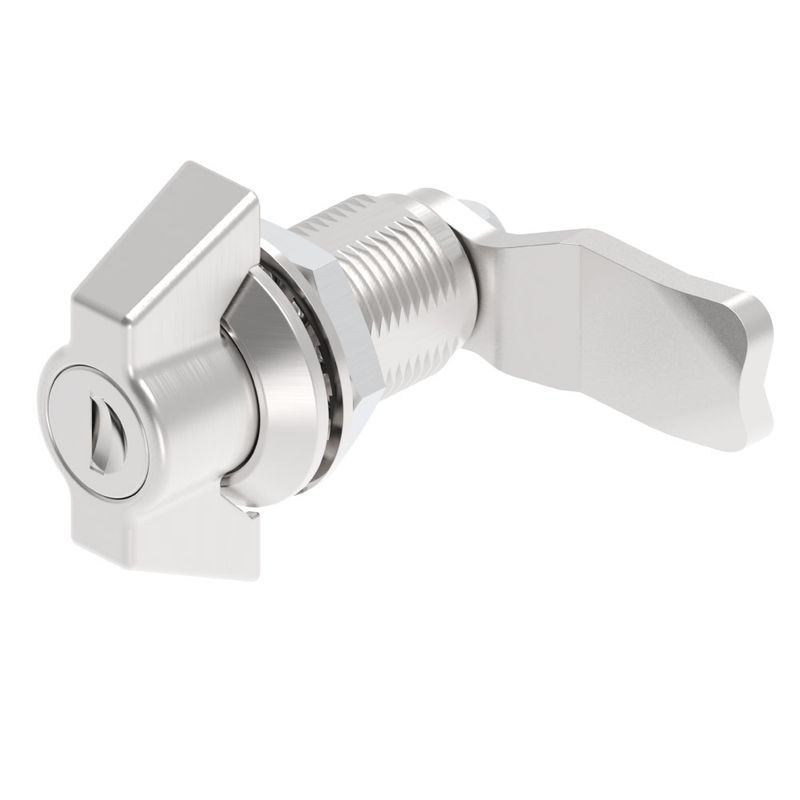
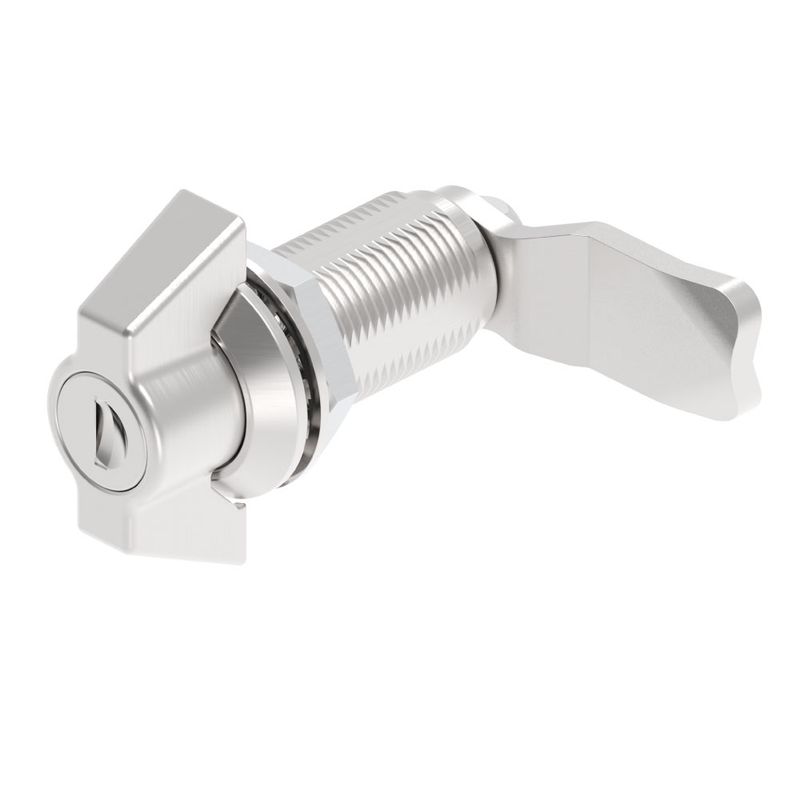
Selecting the appropriate hardware dimensions is a precise science that directly impacts the security of your industrial assets. The most critical measurement is the cylinder length, which dictates the maximum material thickness the hardware can accommodate. To calculate this correctly, use your digital caliper to measure the exact thickness of the door panel, including any internal reinforcement brackets or acoustic dampening materials. Once you have this measurement, you must add room for the retaining nut, the locking washer, and the cam arm itself. We strongly recommend that procurement officers consult a comprehensive cam lock size chart and hole diameter guide for cabinets before finalizing any bulk orders. This documentation will clearly map out the relationship between the cylinder length and the effective locking distance. Additionally, you must determine the required cam offset. The cam is the metal arm that physically secures the door, and it can be straight, bent inward, or bent outward. If the strike plate is not perfectly flush with the back of the cylinder, an offset cam bridges that gap, ensuring the door pulls tightly against the weather stripping when secured.
What is the ideal hole diameter?
The ideal hole diameter is usually three-quarters of an inch, but consulting a cam lock size chart and hole diameter guide for cabinets prevents rotational slipping.
In industrial manufacturing, precision panel preparation prevents long-term security vulnerabilities. The vast majority of standard security cylinders require a three-quarter-inch mounting hole, but a perfectly round hole is often insufficient for high-torque applications. If a user forcefully twists a key in a jammed mechanism, a round hole allows the entire housing to spin, rendering the device useless. To combat this, enclosures should be punched with a "Double D" configuration. This shape features a three-quarter-inch diameter with two flat parallel sides measuring exactly five-eighths of an inch across. The flat sides of the threaded barrel interlock with the flat sides of the cutout, completely eliminating any rotational movement. When designing new sheet metal enclosures, OEM clients should always integrate these Double D punches into their laser cutting or stamping protocols. If you are retrofitting an older cabinet with a round hole, you must use a specialized spur washer with sharp prongs that bite into the interior metal surface to simulate the anti-rotation benefits of a properly punched panel.
How did we solve OEM challenges?
We engineered a custom heavy-duty zinc alloy locking mechanism for a European medical equipment manufacturer that completely eliminated their key-loss and cabinet-breach issues.
A leading medical device manufacturer based in Germany approached ForndLock with a critical operational challenge. They were producing specialized mobile storage carts used in intensive care units to house sensitive pharmaceuticals. Due to the high turnover of hospital staff and the fast-paced nature of emergency medical care, nurses were frequently misplacing the keys to these carts. Because the original hardware was permanently sealed, hospital maintenance teams had no choice but to drill out and destroy the locks, often damaging the expensive cart doors in the process. We collaborated directly with their engineering team to design a bespoke solution. ForndLock manufactured a specialized master-keyed system featuring a removable core cylinder. Under normal operations, the staff used standard keys to access the medical supplies. However, when a key was lost, the facility manager could insert a proprietary control key that instantly released the entire inner core of the cylinder without requiring any tools or drilling. They could then snap a brand-new core into the existing housing in under ten seconds. This innovation reduced their maintenance downtime by ninety-five percent and completely eradicated structural damage to their medical carts, proving the immense value of working directly with an experienced hardware manufacturer.
What are common installation mistakes today?
The most frequent error is over-tightening the retaining nut, which strips the threads and causes the entire cylinder to spin loosely within the sheet metal.
Even the highest quality security hardware can be rendered ineffective by poor installation practices. In our field audits, we consistently see technicians applying excessive force when securing the back nut. Industrial guidelines dictate that the nut should be tightened to a specific torque rating, usually not exceeding 4 to 5 Newton-meters. Exceeding this limit distorts the brass or zinc alloy threads, leading to immediate mechanical failure. Another prevalent mistake is installing the cam arm with the incorrect orientation. Many cylinders offer a full 180-degree rotation, while others are restricted to 90 degrees via a small metal stop washer. If this stop washer is installed backward, the key can only be removed when the cabinet is in the unlocked position, which completely defeats the purpose of the security device. Furthermore, engineers often forget to install the weather-sealing O-ring on the exterior face of the panel. In industrial environments exposed to moisture, chemicals, or heavy dust, omitting this simple rubber gasket allows contaminants to bypass the hardware and infiltrate the sensitive electronics or documents stored inside the enclosure.
How to maintain industrial cam locks?
Applying dry graphite lubricant every six months and inspecting the cam stop prevents the internal wafers from jamming under heavy industrial vibration.
Preventative maintenance is the cornerstone of hardware longevity, yet it is frequently overlooked until a catastrophic failure occurs. The internal components of a security cylinder are built to incredibly tight tolerances, meaning that even microscopic amounts of dirt or corrosion can cause the mechanism to seize. Facility managers must strictly prohibit the use of wet, oil-based lubricants like standard WD-40 inside the keyway. While oil may provide a temporary fix for a sticky key, it acts as a magnet for airborne dust and metal shavings, quickly forming a thick sludge that permanently ruins the tumblers. Instead, technicians should inject a small puff of dry graphite powder or a specialized PTFE dry lubricant directly into the keyway twice a year. Additionally, routine inspections should verify that the cam screw on the rear of the cylinder remains tightly fastened. Industrial machinery generates constant low-frequency vibrations that can slowly back this screw out over time. If the screw falls out, the cam arm will detach, and the door will swing open regardless of whether the key is turned.
How to handle bulk replacement projects?
Procurement officers should standardize their panel cutouts and order keyed-alike batches directly from the manufacturer to streamline facility-wide hardware upgrades.
When a large industrial facility decides to upgrade its security infrastructure, replacing hundreds of units simultaneously requires meticulous logistical planning. The most efficient strategy is to audit the existing enclosures and standardize the required cylinder lengths and cam offsets into a single, unified specification. By doing so, procurement officers can eliminate the chaos of managing dozens of different hardware variations. Furthermore, ordering directly from a manufacturer like ForndLock allows facilities to implement a keyed-alike or master-keyed hierarchy. In a keyed-alike system, a single key profile operates every enclosure in a specific department, drastically reducing the size of the key rings carried by maintenance personnel. For higher security tiers, a master-keyed system allows individual operators to access only their specific workstations, while regional managers hold a master key that opens all units. Coordinating these complex keying systems requires advanced manufacturing capabilities and precise database management, which is why partnering with a direct manufacturer is vastly superior to purchasing off-the-shelf components from third-party distributors.
Can you drill out old locks?
Yes, drilling through the shear line with a cobalt bit is the safest method for extracting a locked cylinder when the original key is permanently lost.
While we touched upon this earlier, it is worth reinforcing the specific mechanics of drilling for maintenance teams facing stubborn extractions. The goal is not to obliterate the entire housing, but specifically to sever the connection between the inner plug and the outer shell. The shear line is the microscopic gap where the pins or wafers rest to prevent rotation. By aiming your drill bit exactly at the top edge of the keyway and drilling straight backward, you shear off the upper pins. You must maintain a perfectly parallel angle to the cylinder housing; angling the drill upward or downward will cause the bit to bite into the heavy exterior casing, potentially snapping the drill bit and leaving jagged metal lodged inside the mechanism. Always wear heavy-duty safety goggles and cut-resistant gloves during this procedure, as the hardened brass and zinc will produce sharp, hot metal splinters.
How to measure cylinder length accurately?
Measure from the underside of the lock head to the cam attachment point using digital calipers to account for the exact thickness of your enclosure panel.

Precision is paramount when determining the correct replacement size. Many inexperienced technicians make the mistake of measuring the entire overall length of the old hardware, from the very front of the faceplate to the tip of the rear screw. This measurement is entirely useless for ordering replacements. The only dimension that matters is the functional cylinder length. To measure this, remove the old unit from the door and take off the cam arm. Place the jaws of your digital caliper precisely under the wide front bezel (the part that sits flush against the outside of the door) and extend the other jaw to the flat surface where the cam arm rests. This measurement represents the maximum depth the hardware can reach. If your cabinet door is half an inch thick, you typically need a cylinder length of at least five-eighths of an inch to accommodate the mounting nut and washer.
Does material affect lock lifespan significantly?
Absolutely, substituting standard brass with hardened stainless steel components increases the cycle life of a locking mechanism by more than three hundred percent in corrosive environments.
The metallurgical composition of your security hardware dictates its performance in harsh industrial settings. Standard zinc alloy die-cast housings are perfectly adequate for climate-controlled indoor environments like server rooms or office storage. However, if the enclosure is mounted outdoors, on a marine vessel, or inside a chemical processing plant, zinc and brass will rapidly oxidize. In these extreme scenarios, engineers must specify 304 or 316-grade stainless steel for both the housing and the internal tumblers. Stainless steel offers unparalleled resistance to salt spray, acidic fumes, and extreme temperature fluctuations. While the initial procurement cost of stainless steel hardware is higher, the return on investment is realized through a massive reduction in maintenance call-outs, emergency drilling procedures, and premature hardware replacements.
Who can provide custom lock solutions?
As an experienced hardware manufacturer, ForndLock delivers tailored security solutions, rapid prototyping, and bulk production for demanding industrial environments globally.
Securing your facility's critical infrastructure requires more than just off-the-shelf components; it demands an engineering partner capable of understanding your unique operational challenges. Whether you need specialized master-key systems, extreme weather-resistant materials, or custom cam offsets designed for proprietary enclosures, our team is equipped to deliver. We pride ourselves on our rigorous testing standards and our ability to scale from rapid prototypes to massive bulk production runs without sacrificing precision. If your engineering team is facing persistent security hardware failures, or if your procurement officers need to standardize a sprawling facility, we are ready to assist. Send your project requirements, technical drawings, sample requests, or custom modification needs via email to: [email protected].